Showing posts with label Once Upon A Princess. Show all posts

Monday, May 23, 2011

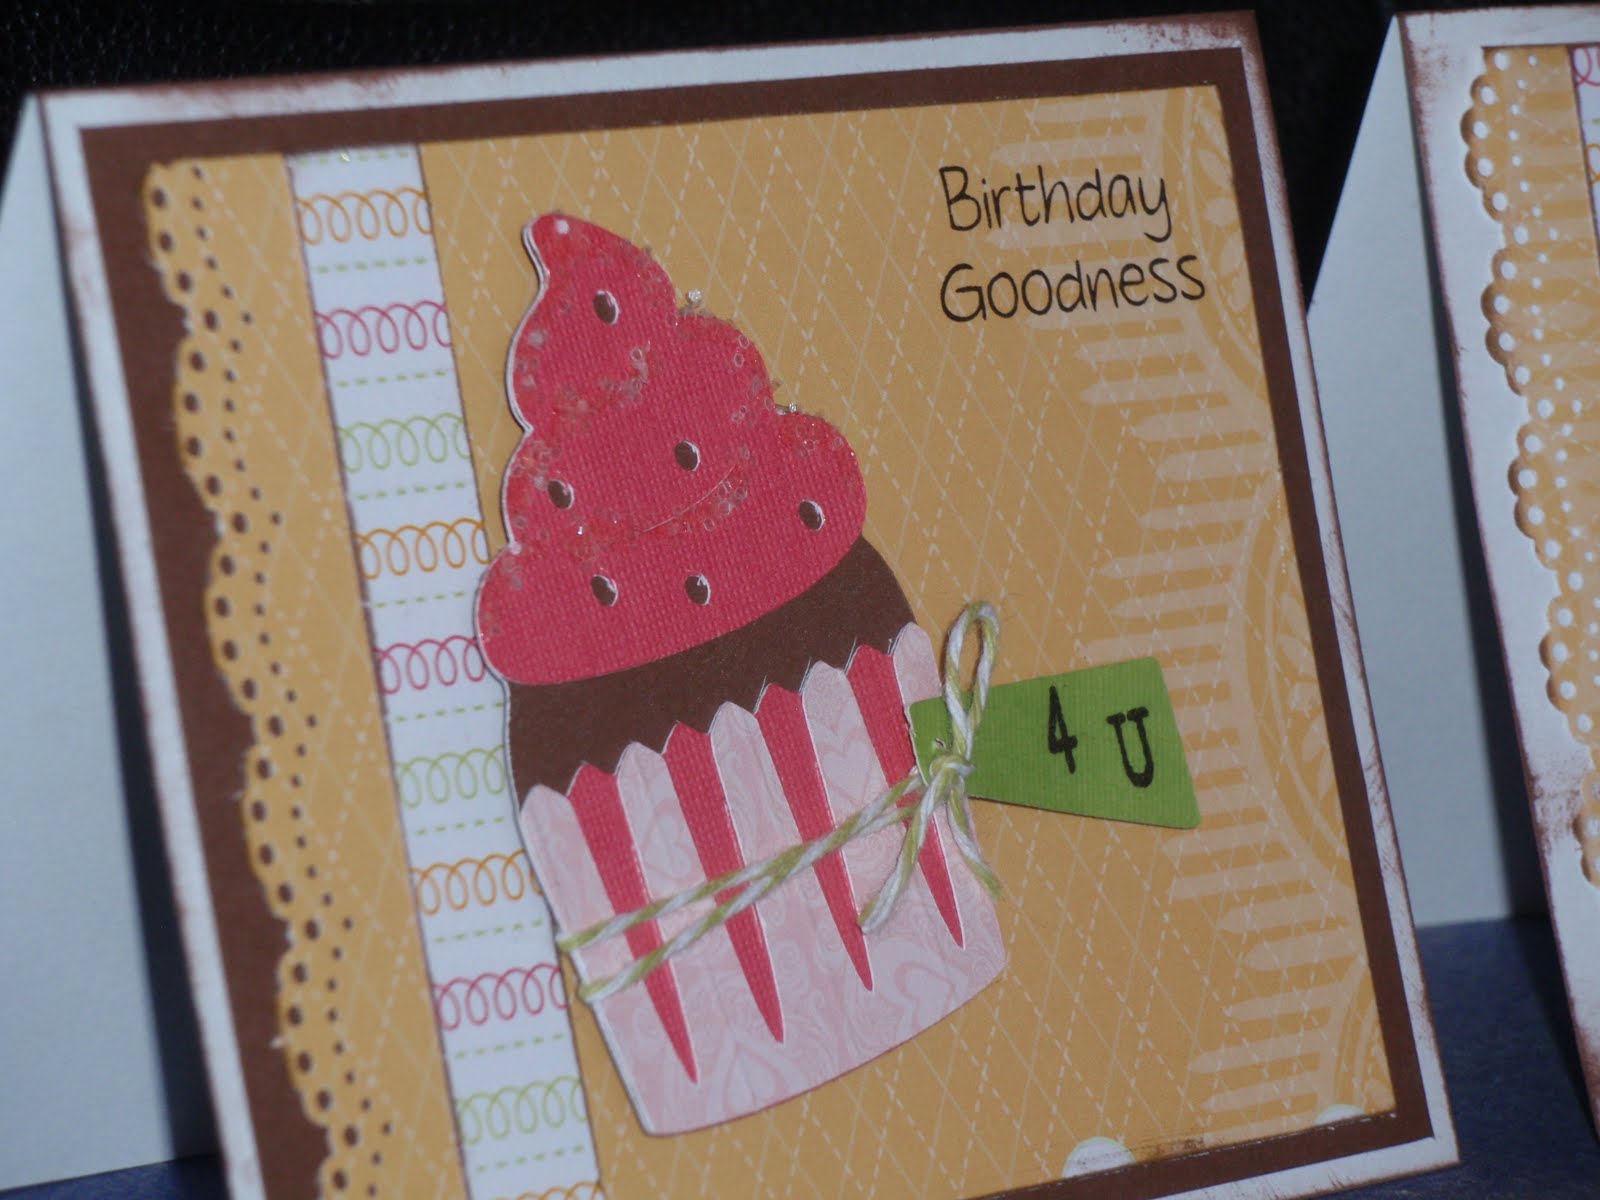
Happy Birthday Cupcake Cards

I made these with the same cupcake from Once Upon A Princess like this one HERE only these are cut at 3 inches to fit the smaller card. The tag is from Tags, Bags, Boxes and More cut at 1-1/4. I tied it on with some Twinery Twine. The happy birthday is from CTMH. I added some course glitter to the cupcake for some sugar :) pattern paper is from DCWV Sweet Stack.
This is basically the same, I just used MPS stamps and used a border punch on the edge and inked it with chocolate.

Friday, May 6, 2011

Jenny's Big 3-0H! Birthday Blog Hop

 Hello everyone, welcome to Jenny's birthday blog hop. I am so excited she allowed me to be apart of her big day, THANKS Jenny I hope you have the best birthday ever and enjoy your thirties! :) If you arrived here from Kara's Sweet Creations then your in the right place. If you just happened to come across my blog and want to start from the beginning then click HERE. There are some great prizes to win so you should definitely hop along and check out everyone's blogs :)
For my project I decided to go with the big 3-0H theme! All Jenny asked was for us to use 3 colors and some bling. I knew I wanted a cupcake so I picked up Once Upon A Princess and used the one on there, cutting it at 3-1/2 inches. I added some bling for the sprinkles and some course glitter to make it look like sanding sugar. I also tied some Honeydew Twine around the bottom of the cupcake and adhered the cupcake liner with pop dots. The word "happy" is from Just Because Cards cut at 4 inches. I sent that through my Xyron upside down and then added glitter to the top. The "3" and "0" are from Sweet Treats cut at 1-1/2, I did the same thing with the glitter to the top of those and also the "H" that was cut from Cricut Classic font at 1-1/4. Paper is all from DCWV Sweets stack and other DCWV that I've had.
 I do have a blog candy so if you want some chances at winning this then here's what you can do...
  • Leave a comment, make sure I can get a hold of you :)
  • Follow my blog, let me know in a separate comment ;)
  • Become a fan of my facebook page HERE, let me know in a separate comment ;)
  • Share this... post about the blog hop on facebook or twitter and share the link in a separate comment.
So there you have it, you can leave up to 4 comments for your chance to win! I will be drawing a winner Monday morning (the 9th) so you have until Sunday night to enter ;)  Good luck!
Alrighty there you have it, now on the the fantastic Jessica @ Baking Up Crafts!

Friday, March 25, 2011

You're A Peach!

I made these up for fun, I cant believe I have had this cartridge for over a year and never used it :( The peaches were cut from Preserves @ 3 inches, then I used my Gypsy to size the tag just right to fit the sentiment I wanted to use. Stamps are My Pink Stamper. Paper is from DCWV and I added some twine from The Twinery. I also used some Peachy Keen stamps and added a little "happy lashes" face! Thanks for looking.
 These have "You're very sweet!" stamped also from My Pink Stamper Stamps.
Linking up with Craft-O-Maniac

Wednesday, January 5, 2011

Feel Better Soon

I thought this would be a great card for someone that was sick and receiving a meal. Die Cuts With A View papers, twine from Pebbles In My Pocket. Tag is from Once Upon A Princess page 35

Wednesday, November 17, 2010

Princess Castle, Crowns, and Wands from Once Upon A Princess

Someone asked if I could make up a castle for an activity at church AND it had to sparkle :) What, I love sparkle so this is what I did... I cut the castle at 8-1/4 the biggest I could on a 12x12 mat, then I hot glued the cylinders together because I have found that sticky strip (or at least my sticky strip) doesn't like to hold for long. After assembling the entire castle I used Mod Podge to coat just the purple parts and then I added some course glitter. I also took my Stickles and used that just along the edges of the walls (across the top) After that I got some jewels and some wire. I placed a sticky dot on 1 jewel and then the wire and then stuck another jewel on top like a sandwich :) then I threaded the wire down the little hole in the top of the cone. They kept leaning to one side so I used some Zip Dry glue to get them to stay put a little better :)
 
 
 I also made some crowns to match. I cut these at 4 inches and then blinged up the darker pink areas with the same course glitter. I used my Stickles again for the "diamonds" on the top.
 And a princess themed activity wouldn't be complete without the wands right? These were cut at 9 and then I also added some course glitter and some stickles to the top parts of each of them. 


Tuesday, October 26, 2010

Pocket Thank You cards

Someone asked me to make a bunch of these for his office to send out when they get patient referrals. He wanted something that would hold a gift card and be unisex so this is what I came up with... 12x12 cardstock cut to 11x12, cut at 4 and 8 inches on the 12 inch side. Score at 1-3/4 and 5-1/2 then zig zag fold. I added a white piece of cardstock to this dark purple one so it wouldn't be hard for them to write inside. I added some ribbon across the z flap so that on the inside...
they would be able to stick the gift card!
Here are some other ones I made for him as well. The tag was cut from Once Upon A Princess pg. 37 at 1-1/4. Sentiment is from Close To My Heart.
Here is the whole pile of them, super easy and fairly quick!

Tuesday, October 19, 2010

Better Get Better!

So this is what I did with the girls I colored in with my new BIC Mark-It markers. I think they turned out pretty cute in the end :) I used Once Upon A Princess to cut the tags I stamped on, the white one was cut at width 3.5 and the height 2 and the brown layer was width 4.12 by height 2.35 I used my gypsy.
 

Wednesday, October 13, 2010

"Hi" and "Hello" cards Pink/Green

I finally finished up making the cards a friend of mine asked me to make for her mom. I think these really turned out fun and pretty. Background cardstock is from DCWV Sweet Treats Stack and how easy is that to use nothing but that cardstock for the main image of the card?! All I did was use a Martha Stewart border punch at the bottom :) I also used Wild Card for the "hi" cut at 2-1/4 inches and wrapped some green ribbon around the bottom from Papertrey Ink.
 You might have seen a version of this before but I had to add it again because I messed something up and wanted to tell you that even though I had it was still usable. I bet you would never guess where the goof up was at.... if you thought maybe under that dimensional glaze then you would have thought right! When I went to adhere this piece to the card I ended up putting glue from a glue pen all over the top... OOPS! I had to think of something to hide that since I had used all that color of paper and didn't want to search through everything I have to find some more. I think this was actually my favorite card because of the dimensional glaze that I had to add! Hello is cut from Lyrical Letters at 2-1/4.
 I also flocked the butterfly with Doodlebug crushed velvet on this one instead of the glitter like I did on THIS card.
Another view, maybe you can see the shine better...
 Here are some more that I made as well I used some more paper from DCWV this time the Citrus Stack, I also used another Martha Stewart border punch and some pink cardstock from Papertrey Ink. The sentiment is from Close To My Heart. Then I added another piece of pink across the green and cuttlebugged it and added some jewels.
I put this card and the last one up to show you what I did with the scraps I had leftover. The tag is from Once Upon A Princess cut at 2-1/2 (pg. 55) "hi" is from Wild Card cut at 2-1/4 I inked the edges and added some jewels.
On this one I used Once Upon A Princess again and the same tag from page 55 the pink tag is cut at 2-1/2 and the white tag is cut at 2 inches. I inked the edges of the white and stamped a happy birthday sentiment from a CTMH set.
Thanks for stopping by today, don't forget to check out my giveaway going on right now HERE.

Thursday, September 23, 2010

Happy Anniversary- green/brown/blue

I made these up for my mother in law, super quick and easy thanks to BoBunny's Abby Road Collection double sided paper :) I used Papertrey Ink stamp set called Mixed Messages and the little tag that its on is cut from Once Upon A Princess at 3/4 of an inch (pg. 54, tag feature)

Tuesday, August 31, 2010

Mr. & Mrs. black, white and red

I found these in my stash with the black and white already on them they just needed to be finished so I added some red cardstock, red side saddle ribbon, and a cut red tag from Once Upon a Princess at 1-1/2. Then I used a Studio G clear stamp with some white ink from Papertrey Ink and added a couple white pearls from Kaiser Crafts.
The great thing about these is that I have placed the ribbon on here in such a way that you can slide the money or check or probably even a gift card down behind the ribbon and it will hold it in place.